
Hello Beauties,
This post goes out to all the Selena Gomez fans out there let’s take a look at her makeup in the video who says – a gorgeous smoky eye and a perfect pout that is a shiny, yet natural-looking pink.
Whether you’re parading through the city barefoot in your best evening gown, or maybe hanging out with 50 of your closest pre-teen pals at the beach, a smoky eye-pinky-lip combo is the obvious choice.

1. Start with a fresh face! Use a foundation of your choice that covers well over clean skin. I like to start with a concealer that matches my foundation, applied under the eyes, and anywhere that I have blemishes or redness. I like to blend all that out with my foundation brush and set with a loose/ pressed powder. Then I like to blend the foundation using my re-usable cosmetic sponges, and follow by dusting a photo friendly powder to set.
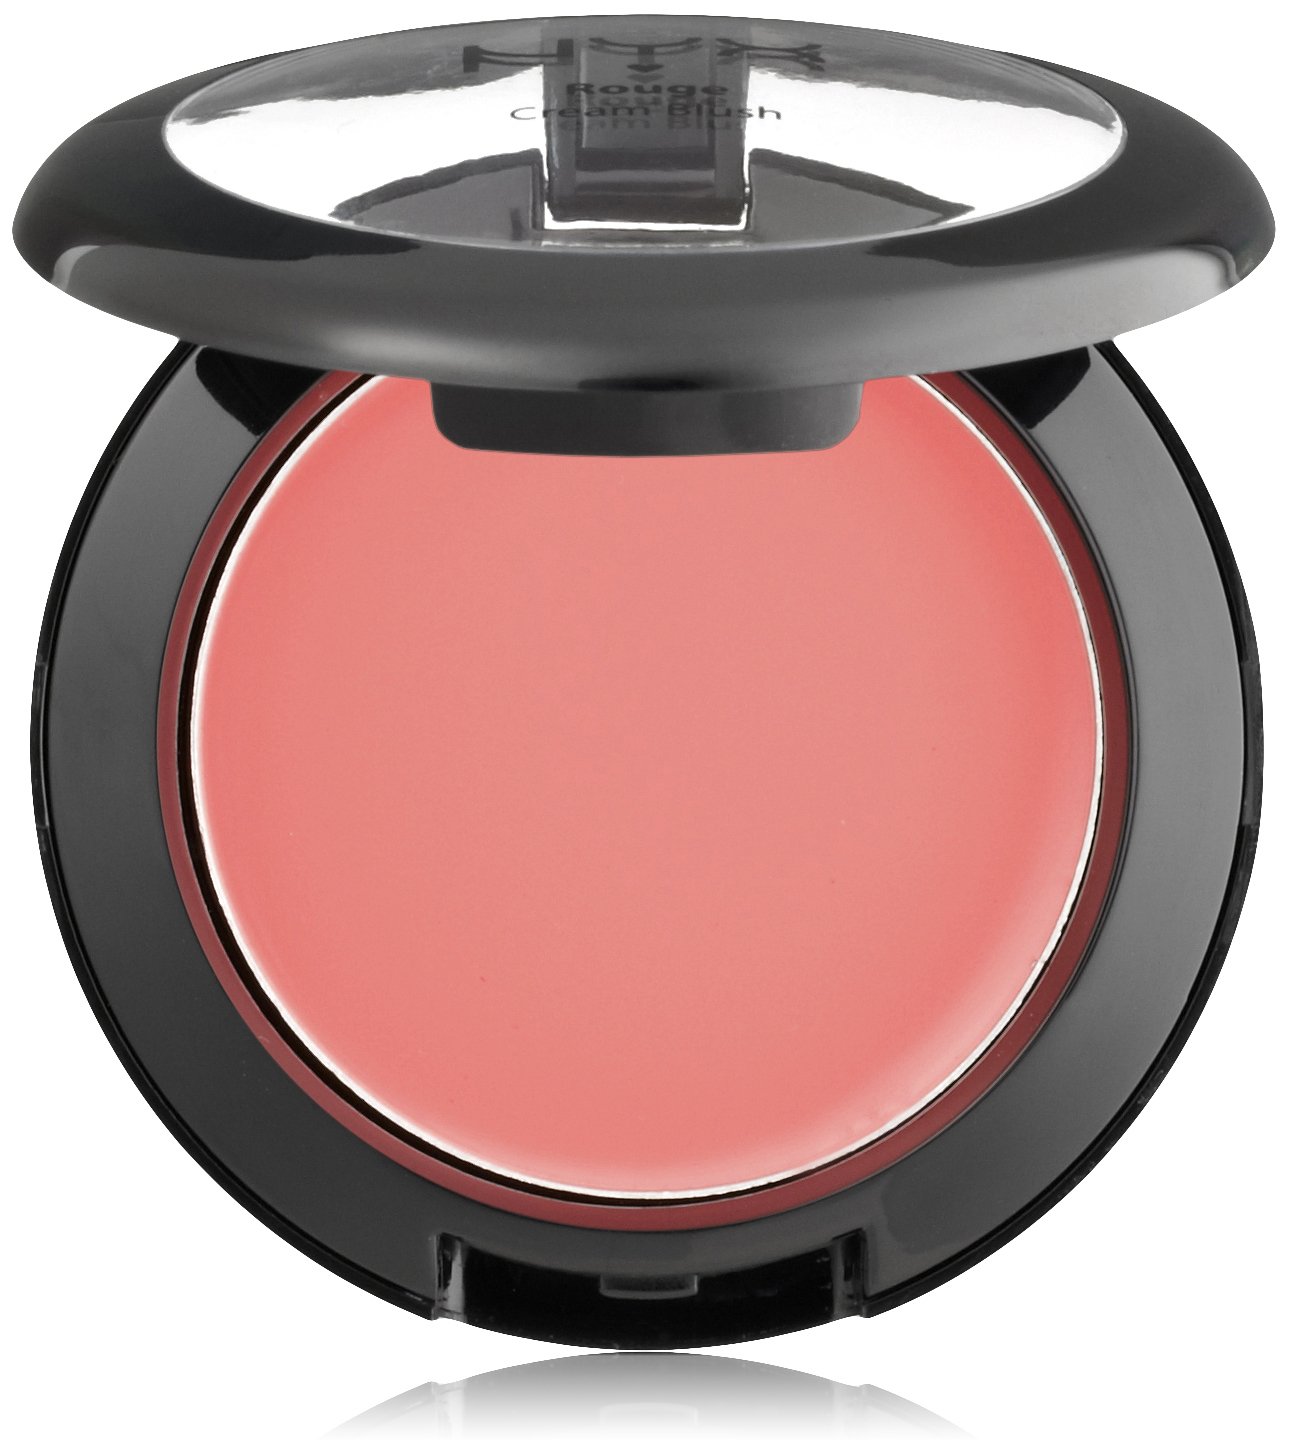
2. Get your glow on! Selena’s cheeks look nice and glowy and somewhat rosy. Add just a touch of peachy-pink blush to the apples of your cheeks with a foundation or large concealer brush or opt for a non-cream blush in a similar shade. I like NYX Cosmetics Rouge Cream Blush in “Glow.”
3. Prime your lids! Using your favorite eyeshadow primer (I like the NYX white eyeshadow base, or the HD eye shadow primer) prep your eyelids for the smoky-eye look. Dab from your lash line (not on your lashes!) all the way up to your brow bone and blend well.

4. Create a canvas on your lid! Using a flat shader shadow brush, place a light neutral color over your lid all the way up to your brow bone. A perfect shade for this is “Virgin” by Urban Decay, which is found in their coveted Naked palette. Really any matte, nude color will do for this step. The goal is to create a smooth canvas for your smoky eye.

5. Make it smoky! First, sweep a champagne color over your lid ( like MAC's Champange shadow), but not all the way up to the brow bone. Then, use a light gray shade for the outer half of your lid. Do not cover your whole lid with the gray! Next, place a darker gray into the outer corner (the “V”) with a small pencil brush (if you have one!) If you don’t, a Q-tip also works well! Finally, using a fluffier shadow brush, blend the harsh lines well. Make sure all colors blend seamlessly together. This is where the “smoking out” happens so you can achieve that smoky effect.
Remember: Selena’s smoky eye is not very dramatic or intense, so there is really no need to use a black color – however, if you are going for a more drastic look, black can either be added to the two shades of gray, or used instead of the dark gray. Also, I would stick with colors that are not too shimmery or glittery. Matte or semi-shimmery smoky eye looks can be beautiful, too.
6. Get in line! Holding a black liquid liner like L’Oreal Lineur Intense in “Carbon Black,” steady your hand by anchoring your elbow to a countertop or stable surface, and draw a medium-thick line from your inner corner to the middle of your lash line. At this point, you can now connect the end of the line you just drew to the outer portion of your lash line. If you can do the whole line in one motion, feel free to do so. Then, using a black pencil liner, line your waterline and lower lashes. Smudge this line out a bit with a Q-tip or an eyeliner brush to go along with the smoky look.

7. Add some dramatic lashes! At this point, you can either add on some falsies or just coat your own lashes with a thickening mascara. For falsies I LOVE the Ardell Fashion lashes in Sweeties, they are just enough to give some volume and length, while still looking like they could be your own. My favourite mascara hands down has to be Clinique High Impact Extreme Volume Mascara. It adds all the drama you want, without the clumps.


8. Perfect the pink pout! Making sure your lips are smooth (you can apply a clear lip balm first), swipe on a soft pink gloss to finish the look. There are tons of options for this, but one of my favorite glosses is Stila lip glaze (pictured below is "cotton candy").

I would love to see your takes on this look. Leave me comments and let me know hoe this look worked for you :D
Thanks for reading beauties,

Danielle
I would love to see your takes on this look. Leave me comments and let me know hoe this look worked for you :D
Thanks for reading beauties,
Danielle
No comments:
Post a Comment