Showing posts with label MUA. Show all posts

Sunday, 6 September 2015

Trend Alert: Fall 2015

Hello Beauties,
Fashion week has come to an end, and with it new beauty trends for this coming fall season.
As a whole not a tonne has changed, but with the beauty scene looking this good, why should they. 

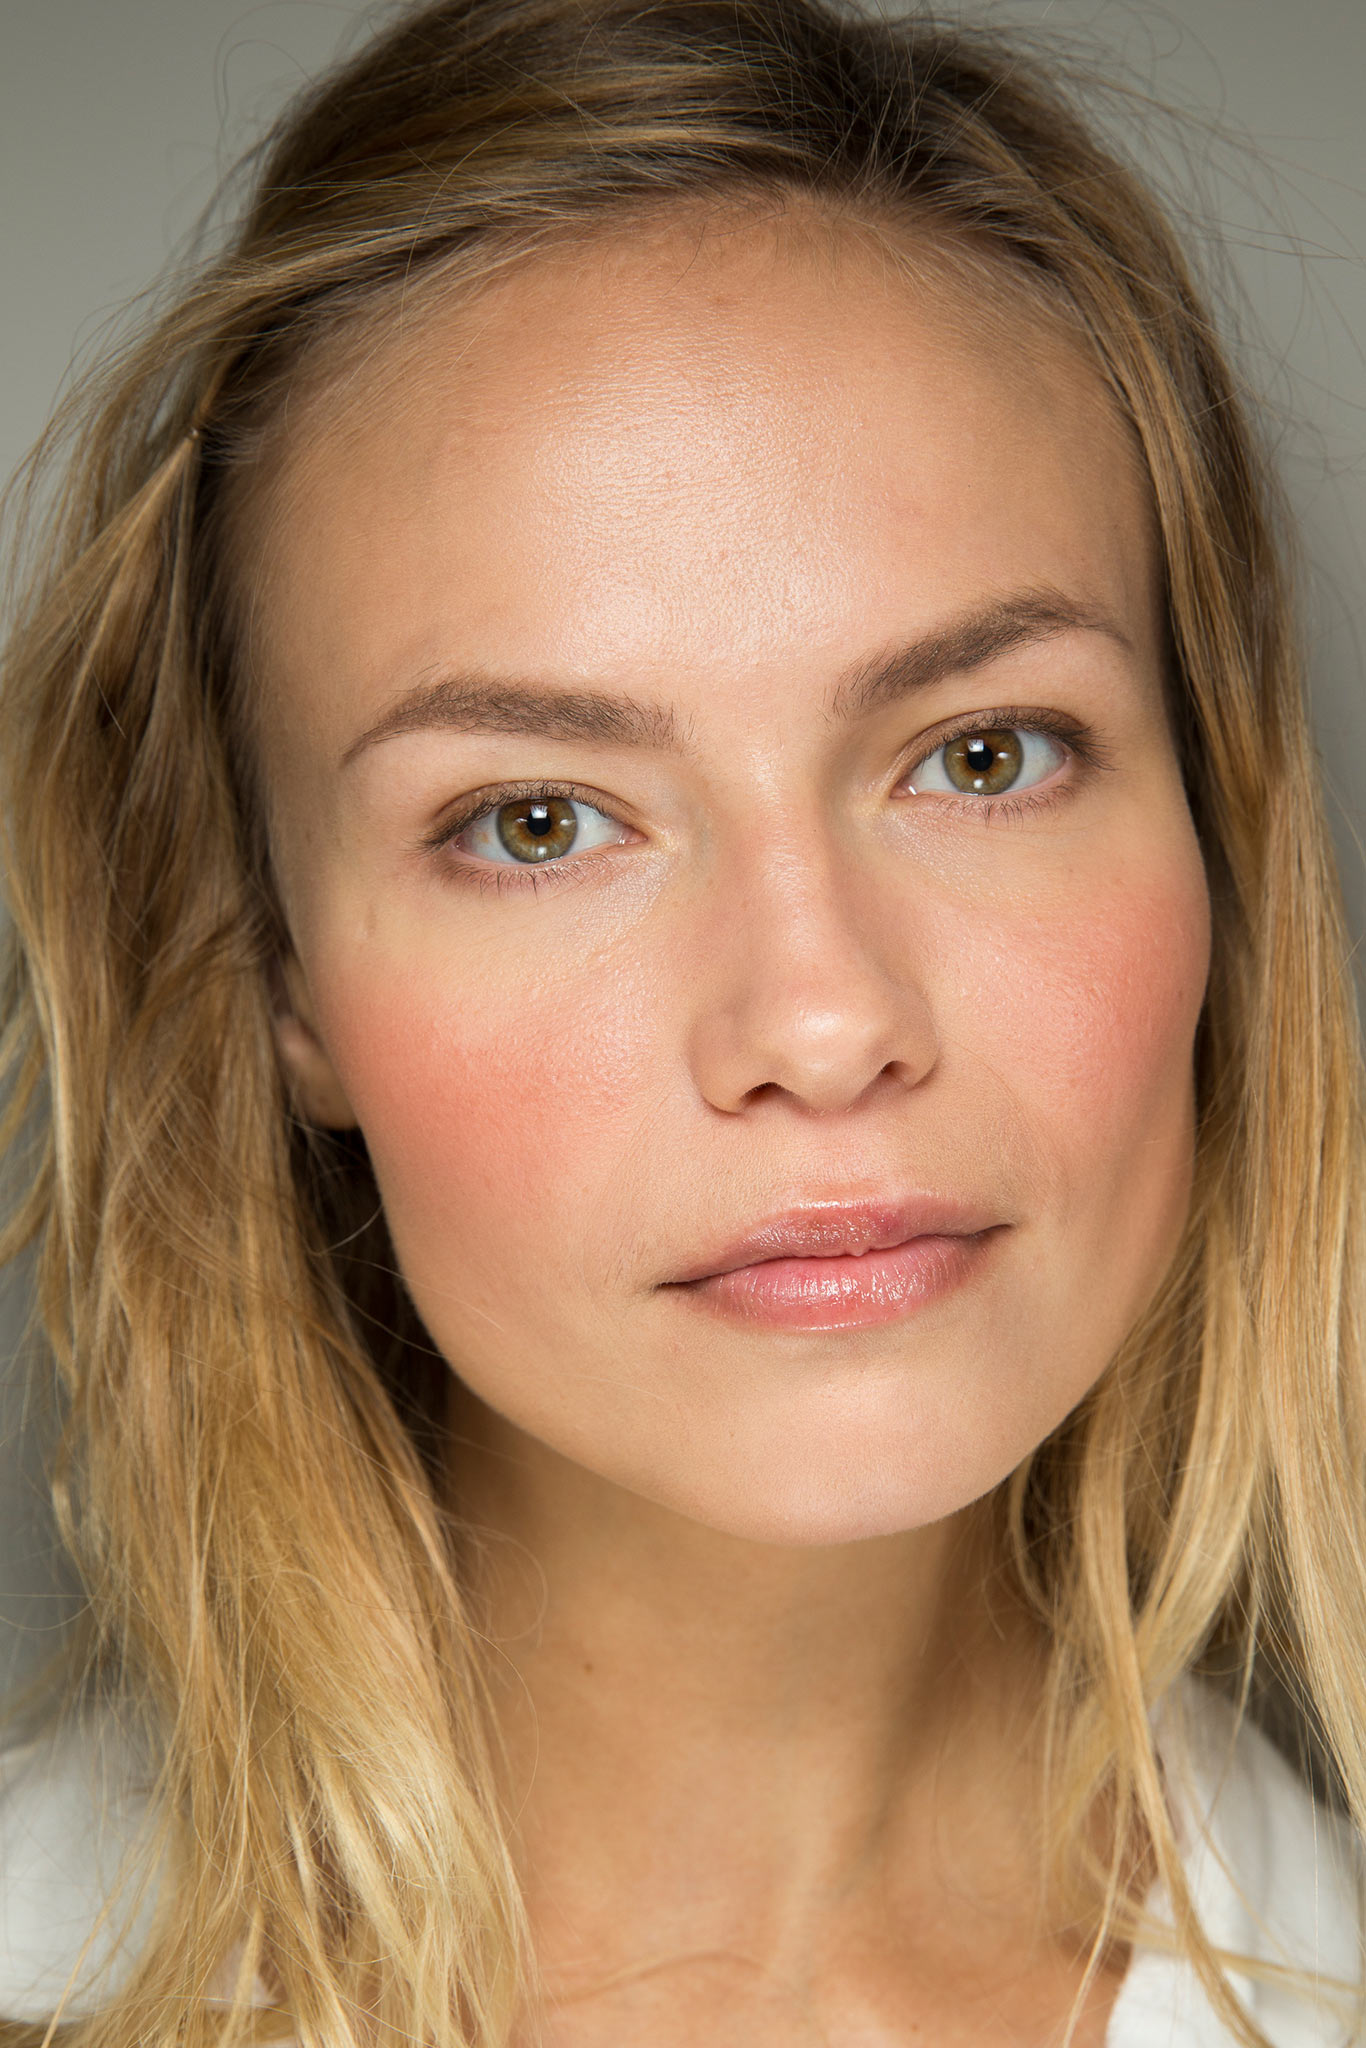
1. "Flushed" skin 


Move over contour, there's a new queen bee in town! Models were seen sporting fresh, dewy skin with a pop of pink blush on the apples of their cheeks.

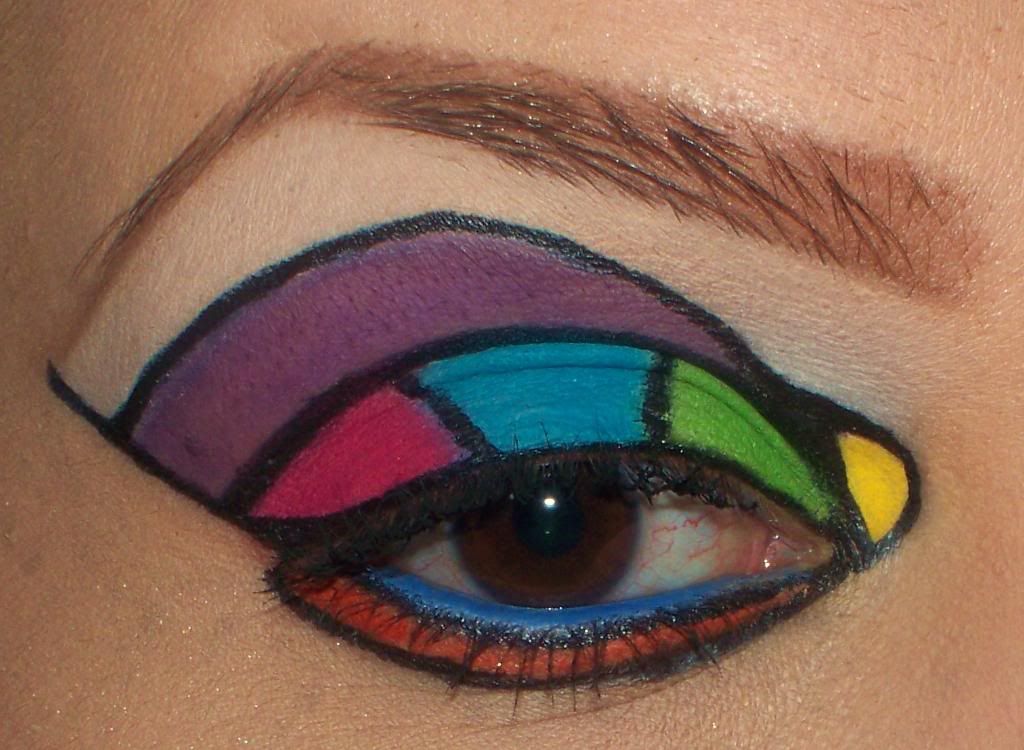
2. Graphic liner 

Bold liner makes a come back this fall season, models were sporting bold designs in even bolder colours. 

3. Metallic eye shadows 

Bronze toned and metallic shadows are taking the fall season by storm, 

4. Vampy lips 


Red, oxblood, maroon and plum lipsticks were star hitters on the cat walk this season. The darker tones just sing fall. 

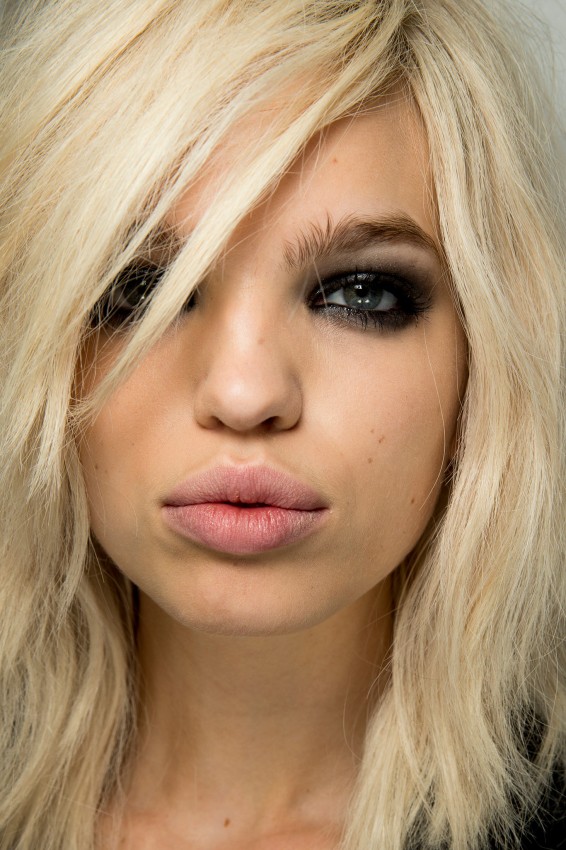
5. Simple smokey eyes 


Monotone smokey eyes are all the rage this fall season, the smokier, the better ;)

As always lovlies, 

Thanks for reading 


Danielle

Get The Look: Strobing

Hello Beauties,

Contour seems to have officially gone by the way of the dodo bird in the eyes of the beauty community. The up and coming trend that everyone is talking about now *drum roll please* STROBING!

What is strobing you ask ?
Well strobing is essentially highlighting your face, but with a new and improved name ;)


To strobe your face like a pro, you will need:

1. Your foundation/ BB Cream / Tinted moisturizer of your choice

2. A concealer 1 - 2 shades lighter than your foundation

3. A blending brush or sponge

4. Setting powder

5. Highlight powder


Start as always by prepping your skin as you normally would (wash, moisturize, and prime)

Once your skin has been prepped, apply the foundation of your choice. For this look something with a dewy finish would be better over something matte.  The whole idea behind this look is glowing dewy skin. Set your foundation with your setting powder of choice.

Next you're going to apply the lighter concealer in your highlight areas: The forehead, the brow bone, below the eyes, on the cheek bones above the apples of the cheek, cupid's bow, chin, and lastly below the cheekbone, under where you would normally contour your skin


Now you're going to blend, blend, and then blend some more.  Using your sponge or brush, you're going to disperse the colour of the concealer onto your face. You should be left with a slightly lighter complexion on the places you've put the concealer.

Finally you're going to have to set the concealer on your face. For this step I like to use the mineralize skin finishes from MAC, but any highlight powder will do. Pick up a small amount of the highlighter on your powder brush and sweep it across the areas you just placed the concealer.

With fall right around the corner I like to finish this look by adding a pop of pink blush onto the apples of my cheeks and a dark vampy lip.

Et Voila, a beautiful fall look to keep your makeup game on point.

Go get 'em you trendsetter you.

Stay tuned for my next tutorial post: Ombré lips for fall.


Danielle ;)


Thursday, 3 September 2015

August Ipsy Bag

Hello Beauties, 
So this month the theme for the Ipsy bag was back to school ( prep school to be exact)

The bag this month was a patterned and slightly textured bag in black and white with hot pink accents.


The 5 pieces I received inside my bag this month were:

1. Hikari lip gloss in "salsa:
2. City Colour HD powder ( SO EXCITED!)
3. Briogeo Blossom and Bloom Ginseng and biotin volumizing spray
4. Lather ultra mild face wash
5. Starlooks liquid liner pen in black


This month my bag was just alright.  I really enjoyed 3 of the 5 products, however the other 2 were a complete miss.


The Hikari lip gloss is beautiful, it is a fully pigmented ultra shiny gloss and the colour payout is AMAZING. It really wears more like a lip lacquer than a lip gloss. The downside is that because it is ultra shiny, it is also sticky. I found because of the high shine in the product that it never really "dries" which means that your lips stay tacky for as long as you're wearing it. The second issue I had with this product is that it does not have the staying power of some of its peers the wear time is relatively short.

I am trying to get into filming YouTube tutorials right now, so this powder is fabulous. I am able to set all of my looks without the harsh blow back that you would get from other traditional translucent/ setting powders. I wish that I had gotten it in a pressed powder formula instead of the loose powder (just personal preference). The powder performs well, it set my makeup and has kept it in place through the hot and humid August days.


The Briogeo volumizing spray was not one of the products that I used a whole lot of. I have a tonne of volume naturally, my hair is thick and curly, so I only ever really used this spray to try and help my hair along after I had back combed it. I can't honestly say if this spray made a difference or not, I really didn't notice any difference in my hair when i used the spray Vs not using it... Womp


Oh, the lather face wash... I was really hoping that I would like this one. I had heard really good things about this face wash and if I'm being totally honest, it worked really well BUT it smells awful. I just don't want to put it on my face again.


Last but not least, and possibly one of my favourites the Starlooks liquid liner pen by Doucce. This liquid liner is killer! the fine tip give you ultimate control over your liner look, whether it's a graphic liner, or something super simple. The colour payout is great and it stays ALL day. This was a great find for me.


Friday, 3 July 2015

Dragon Lady: Body Image and the Beauty Industry

Hello Beauties,


So today I wanted to touch on a topic of body shaming and the stereotypes that still linger within the beauty industry. This post is near and dear to my heart because I am a plus size girl, my dress size on average is about a 12 / 14 and people can be very cruel when you're working in a industry where you're "supposed to be looked at"


I'm going to talk about a personal experience that I had while working for Estee Lauder.

Basically, we were getting ready to have our Christmas gala. The gala is an event where all of the makeup counters invite their regular clients to come in and stock up on their product, the counters will usually offer a special gift with purchase, as well as coupons, snacks, entertainment, etc. The attire for employees working the gala is supposed to be semi- formal, so a few days before gala night I went and bought a really adorable David Dixon little black dress.

The dress was strapless with a fitted bodice and an A line pleated skirt.

I loved the way the dress fit, it was super cute and gave me the perfect hour glass figure. I thought I looked pretty good, and felt super confident in my LBD, like if every girl should have one, this was totally mine.


I arrived for my shift on the day of the gala wearing my LBD and feeling pretty excited with myself, naturally the counters were swamped, so I was SUPER busy for almost the entire shift.

As I was getting ready to leave for the evening, a woman approached the counter looking for help. I was supposed to be leaving but thought I would stay to give the woman a hand (after I had already punched out).

As it turns out, the lady had a tonne of questions and was looking for an ENTIRE skin care routine, on a budget none the less. I walked her through the products we offered, how to use them, which ones would work best for her and even which ones she could come back for so she didn't break her budget.

Finally she was satisfied, She had her skin care regime, knew how it all worked and how to apply it to herself, so we proceeded to the cash so we could both leave the store.

I was ringing her up, and I could feel her eyes on me when she says, "You've got a really pretty face"

I was about to thank her, when she continued with "you know if you lost a few pounds you'd be beating them off with a stick"

At first I thought that I had heard her wrong, there was no way that this woman just said that to me...

Then it dawned on me, that she definitely said it, and whats worse, she clearly didn't see anything wrong with saying it.

I had no idea how to respond to her, so I just sort of smiled and laughed it off, but she wasn't done yet.

She then told me that she was surprised that the makeup counters would hire me because "You're representing the brand" and "People would be looking at you all day" but "good for me for getting the job"

By this point, I am totally mortified and have no idea how to handle the situation. I've never been so passive aggressively called fat in my entire life, and how rude is this woman.

Then I get angry.
I'm angry at the woman for being so insensitive, but I am also mad at myself.

I realized that I just gave this woman, this complete stranger, total control over me. By allowing her to take away my confidence, I had allowed her to make me feel not only fat, but untalented as well. Like I didn't deserve my job, because I weighed a few extra pounds.

She just got to flounce out of the store with her new purchases, while I stewed the entire way home over how I looked (I swore I would never wear the LBD again), my abilities as a makeup artist and if I could ever make it in the beauty industry.

Whether we like it or not the stereotype seems to exist that if you don't look like a model yourself, then you don't deserve to work in the beauty industry in any capacity - and it's just not right and yet there it is.

I guess the moral of the story is - don't let anyone take away your power, know that you matter and that your talents aren't diminished for all someone can't see beyond the package they're contained within
.
It doesn't matter if you're tall, short, fat, thin, gay, straight, man or woman - Own your body, and don't let anyone take away your confidence ;)


Danielle

PS - I wore my LBD again - to a modeling agency none the less ;D

Thursday, 25 June 2015

Trends: Red Concealer ?

Hello Beauties

Lately I've been seeing these posts ALL OVER the internet about this "Red Lipstick Concealer" trend.

If you haven't seen anything about this yet, basically people are using red lipstick to camouflage dark circles in the under eye area and yes it really does work.

essentially the red pigment in the lipstick acts as a corrector and covers the blue and purple tones that are so often found in dark under eye circles.

The red lipsticks works best on people with a darker complexion, on fairer people, something with an orange or coral tone works better.

TI am a red head, so typically if I am trying to cover my dark circles I will use the BH Cosmetics Concealer Palette. There is an orange corrector that comes in the palette which works wonderfully (and saves me from having to bust out my lipsticks)


I will also sometimes use these concealer/corrector wheels from Lise Watier


For the best results what you want to do is:

1. Moisturize!

Always start by prepping your skin for the makeup you're going to be using, moisturizing will help smooth and hydrate the skin. It will also help keep cosmetics out of pores which will help with breakouts. If you like using primers, you should apply one about 5 minutes after you've used your moisturizer, just so that it has enough time to full absorb into the skin.


2. Apply your Lipstick

Now you're going to want to apply your lipstick/ corrector to the dark areas you wish to conceal. There are two things that will effect the choice of colour for your corrector. 1.the undertone of you skin - when you look at your wrist, if the veins you see there are blue in colour, you have a cool undertone. Likewise, if you look at the veins and they are green, you have a warm undertone. Secondly, the tone of the actual dark circles. What you want to try and do is pick a shade of lipstick that will neutralize the undertones in the dark circles. You do this by selecting colours that are opposites on the colour wheel


Blue toned dark circles tend to appear on people with cool undertone skin (orange corrector)
Green-blue toned dark circles tend to appear on people with warmer undertone skin (red concealer)
Apply your corrector of choice, and blend into the eye area with either a brush or sponge.

3. Set your Corrector
You're going to want to set the corrector you just used over the dark circles so that it doesn't mix into your concealer or foundation whe nyou apply those to the undereye area.
Use a fluffy brush to apply your setting powder of choice into your under eye area. Use a clean powder brush to dust away any excess powder that might be left behind.

4. Apply your Concealer/ Foundation
Lastly you're going to apply your concealer and or foundation as you normally would.


Voila! what under eye circles !?

Thanks for reading - I love to read what you think, leave me lots of comments ;D


Danielle


Saturday, 20 June 2015

How To: Contour and Highlight - Cream Edition

Hello Beauties,

Highlight and contour are so important for any makeup look, it helps to define and sharpen your bone structure, or can be used to create an entirely new face shape all together.

Contour can be used to change the shape of your nose, slim your face, define your cheek bones and even reduce a double chin. It is MAGIC!

While contour is meant to diminish/ hide, highlight is meant to brighten/ make more prominent. The more light that is forced into an area the more noticeable it will become.

I know that I've written a post in the past about highlighting and contouring; but th at was before the so called "Kim K" method using creams became so popular.

So, let's begin! How to do it in just 7 easy steps

You'll need:

- Moisturizer (I'm using Olay complete for normal skin)

- Foundation/ BB cream (I'm using rimmel stay matte in 100 fair ivory)

- Setting powder (I'm using MUFE HD powder)

- Cream concealer in 2 shade - one lighter than your skin tone and one darker (I'm currently using Cover FX in the lightest shade in the line and Tom Ford traceless foundation stick in 08 Caramel)

- RE-usable cosmetic sponge ( I use the faux beauty blender by QUO)

- Large powder brush (I'm using one by Pari)

- Highlight powder (I'm realyl fair, so I am using MAC mineralized skin finish in lightscapade)

- Blush or fan brush

- Contour powder (I use MAC blot powder in dark OR MAC always sunny pro long wear shadow)

- Contour brush ( again - Pari)


Step 1 - Prep your skin
Moisturize your face and allow the moisturizer to full absorb before you apply anything else. If you're going to use a primer, now is the time to apply it.

Step 2 - Apply your foundation

apply your foundation to your entire face as you normally would. Make sure you blend well.

Step 3 - Set your foundation
Apply your setting powder to your entire face. Once you've applied your powder, take a large CLEAN powder brush and sweep gently over your face again, taking away any excess that might be lingering

Step 4 - Contour
Find the hollows in your face/ places where shadows naturally occur - (Usually below the cheek boens - near the temples - forehead, near the hairline - sides of the nose - and below the jaw bone)- Apply your darker concealer in those areas and buff it out using your cosmetic sponge. You don't want to completely remove the colour, but you don't want any harsh lines.

Step 5 - Highlight
Look for areas on your face that light would naturally fall -(Usually the forehead, bridge of the nose, under the eyes, and cheekbones) - Apply your lighter concealer and then blend out with your cosmetic sponge. Again you don't want to completely take the colour away, but you don't want any harsh blocks of colour either

Step 6 - Contour...again
Now it's time to go back in with your contour powder and make sure that your contour is set and well blended. Remember that contour powders should be Matte to give you the best effect. While you can use a bronzer - you're better off using a matte powder or eye shadow to create depth in your contour.

Step 7 - Highlight....well you get the drill
Go back in with your highlight powder of choice and make sure that your highlight areas are set and well blended.


Flawless looking skin every time ;D


Thanks for reading lovelies, leave me comments and let me know if this helped you


Danielle


Monday, 12 March 2012

How To: Eye Shadow Placement

Hello Beauties,  


I ran across this blog post and thought that it might be a good one to post for any beginners who may be reading. 


"One of the most commonly asked questions by those who are just learning the makeup basics is, "where do I place the different eye shadows on my eyes?" " Where do the makeup eye shadows actually go on the eye?" "Which way is the correct way to put on eye shadows?"
Well,simply put...they all are!
There are many different styles and looks you can create by careful shadow placement. From simple color washes to eccentric multi-colored looks. Not all eye shapes are the exact same, but this is a general break down that will work for all eye types.


The eye is basically broken down into the following sections.
Lets start with your eyelid,
The movable part of your eye area that is usually seen with color when you blink.
The eyelid can be broken down into three separate sections.


The Outer Lid #1- RED
is the part of your lid that covers from the edge of your eye in towards the edge of your iris. This is generally where you place the darkest shade.


The Middle of your eye lid #2- BABY BLUE
is your lid above your iris. This is where a medium toned shadow is generally placed.


The Inner part of your eyelid #3- LIME GREEN
is the inner part of your eyelid going towards the edge of your iris. This is where the lightest shadow on the eyelid is placed.


The Crease – is the area above your eye lid and below your brow bone area, along the eye socket/bone. This is where a dark color is blended into your eyeshadow below.


The Outer V- YELLOW
is the small area from your lower lash line up towards your brow, blending inwards towards the crease. The darkest of colors generally goes here.


Brow Bone - The brow bone sometimes has another colour or shade applied here and blended well into the crease, depending on the look.


The Highlight Area – CREAM/IVORY
The highlight area is found directly below your eyebrow. This is where a light wash of very light color is used to highlight the brow area.


The Lower lash line - DARK BLUE
is found directly below your eyelashes, under your eye. Depending on the look you are going for, a small line of color or black, gray or brown pencil may be used to circle the eye somewhat.


The Waterline-  this is the part of your lower eye lid, that gets pressed together with your lashes when your eyes are closed. Not everyone is comfortable with wearing makeup there and some professionals advise against it, because of how close to your eyeball it is. This is where some ladies will place a line of pencil in a dark color or even white, to brighten the eye. Be careful when placing any sort of makeup so close to the inner eye and tear duct as you may harm your eye area. Not all makeup artists recommend lining the tear duct for health reasons.

Pick Your Style
Depending on the style of eye makeup you are after you can pick and choose which part of your eye are separated with color, and which aren’t. Not all eye looks are broken down so much.
Example, a simple wash of color over the entire eyelid is a common look, rather then breaking it into 3 sections. Find a look that works for you.There are no rules when it comes to makeup, this is only a guideline. A good rule of thumb is to stick with shades in one color range when starting out.
It is a lot easier to develop a nice look with shades very similar together, than using different colors.
i.e. Use 3 tones of blue, a dark, a medium and a light. Instead of trying to use blue, purple and pink.


Some More Makeup(Eye Shadow) Tips:
Always be sure to use clean brushes and applicators.
Make sure that any makeup item such as sparkles, shadows, pencils….are made for the eye area. Not all makeup products are safe to wear so close to the eye so be sure to read the labels. Eyeshadow powders are used all over the eye area. Pencil is used to line your lashes and cream shadows are used on your eyelid.
Lastly the key to fabulous looking eyes is blending! Blend, blend and blend some more. This is the part you don’t want to forget, it will bring all the shades together nicely and give a beautiful finish to your look.
Keep in mind these are simply guidelines and there are many different looks you can come up with, these are just areas you will hear commonly referred to or talked about in tutorials.
Makeup is all about self expression, so experiment, be creative, and most importantly have fun.


Thanks for reading beauties


Danielle